Perfect sunny day here. All ready for a long weekend. Catching up on some baking today. A quick easy go to for my faintly has always been the traditional Rock cake! Low in sugar and super delicious and the biggest criteria.. Fast! Find the Recipe here. My mum has been baking these for years and I kinda stole it from her! We are to the beach for some sand play and sunshine!
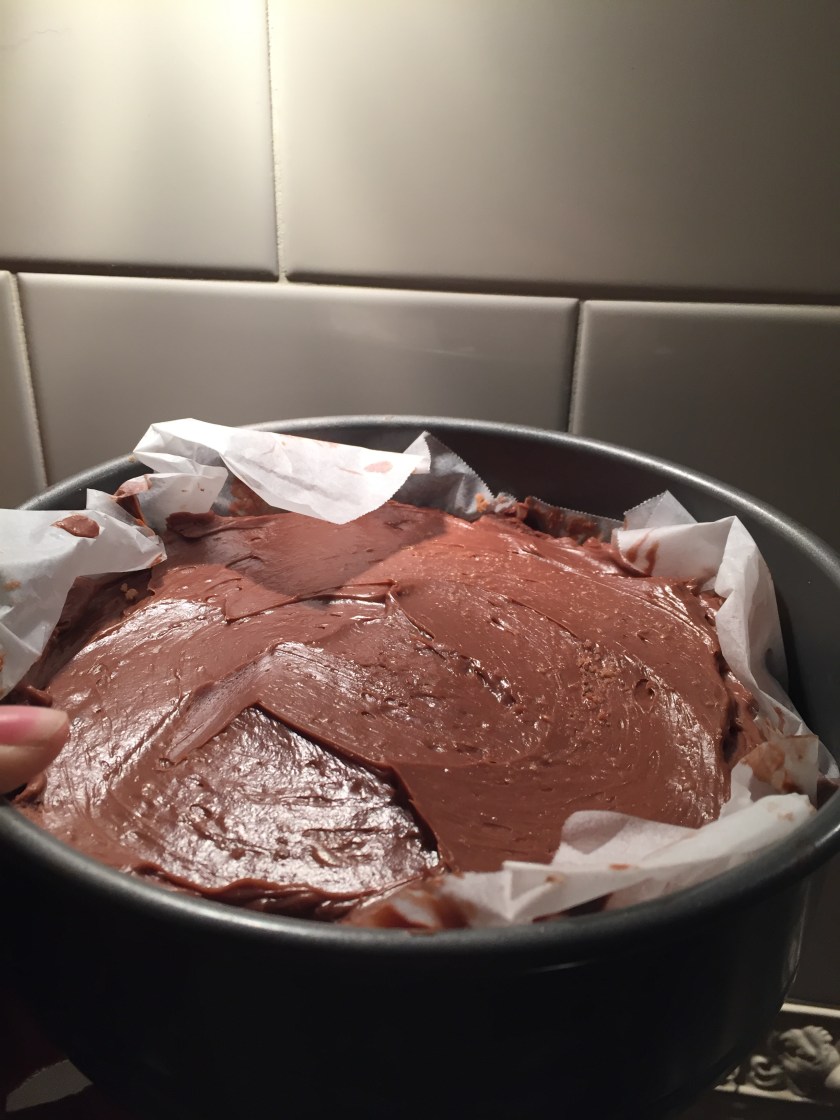
It was a great challenge to try a new recipe every day last week! I finished it off with a bang… Nutella Cheesecake!! Not the dinner inspiration I started out looking for but I saw it advertised on social media and wanted to try it for myself! I mean who doesn’t love Nutella. I personally could it eat it straight from the jar! I used the Nigella recipe. Find it here. Ridiculously easy to make and no baking requires so it was super fast! Mr 3 helped and was super excited to lick the Nutella spoon!
Nutella cheesecake
To summarise it was super easy and fast to make, but it needs berries and cream or something on top to break up the sweetness. It is super rich and sweet. Raspberries would be perfect.
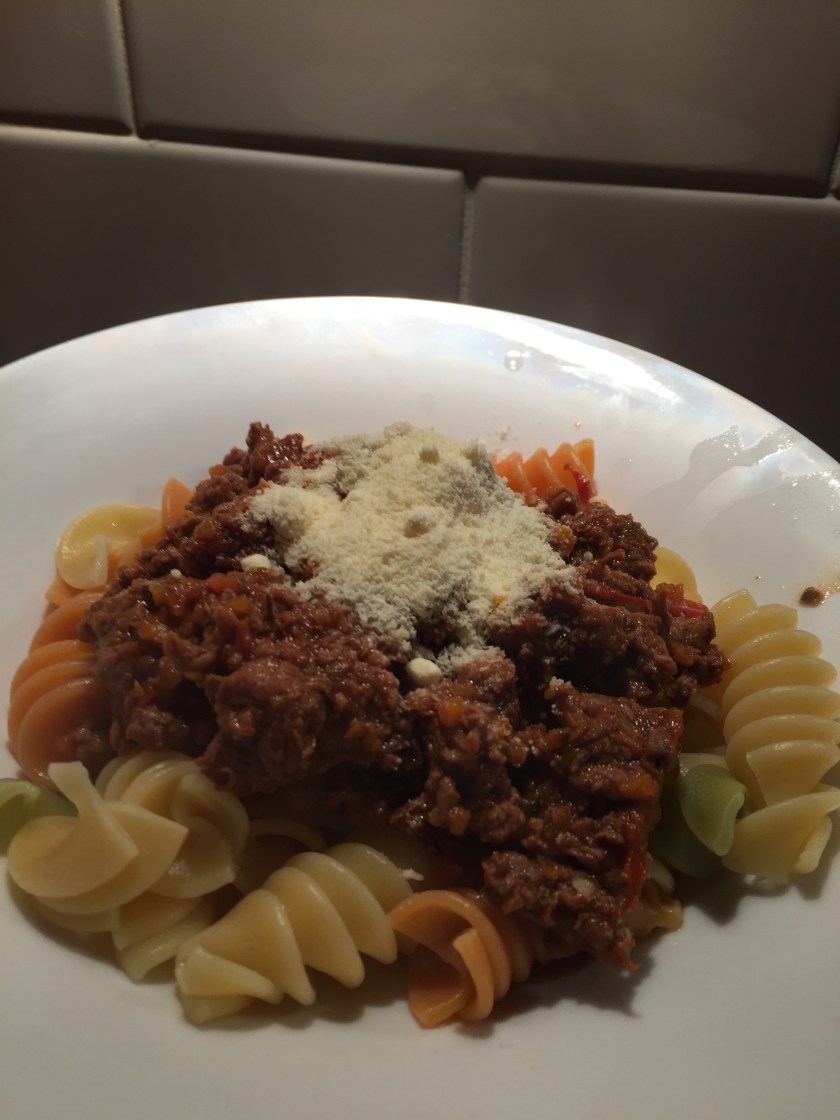
The Challenge continues… read about it here! New recipe no 4 for the week was slightly clouded due to sick kids and no desire to go the shops. So it became a game of ‘what’s in the cupboard’? Still wanting to complete the challenge I found some beef steak in the freezer and went about investigating something new to cook. Enter good old Jamie Oliver and a few modifications and we have delicious Beef Ragu.
I had a few ingredients missing and added a few of my own.. So here’s my Recipe…
Easy Beef Ragu
1kg Beef Rump Steak chopped into small pieces (in thermie reverse sp 6 20 sec)
1 clove garlic
2 carrots
500 g of tomatoes chopped ( I had lots left from the inlaws!)
2 tblspn vegetable stock
500 ml water
2 cups of red wine
oregano
basil
bay leaf
Method
Blitz garlic and carrot Spd 5 for 10 sec. (or grate carrot and chop garlic finely)
In a large pot brown garlic and carrot. Add the beef and fry till brown.
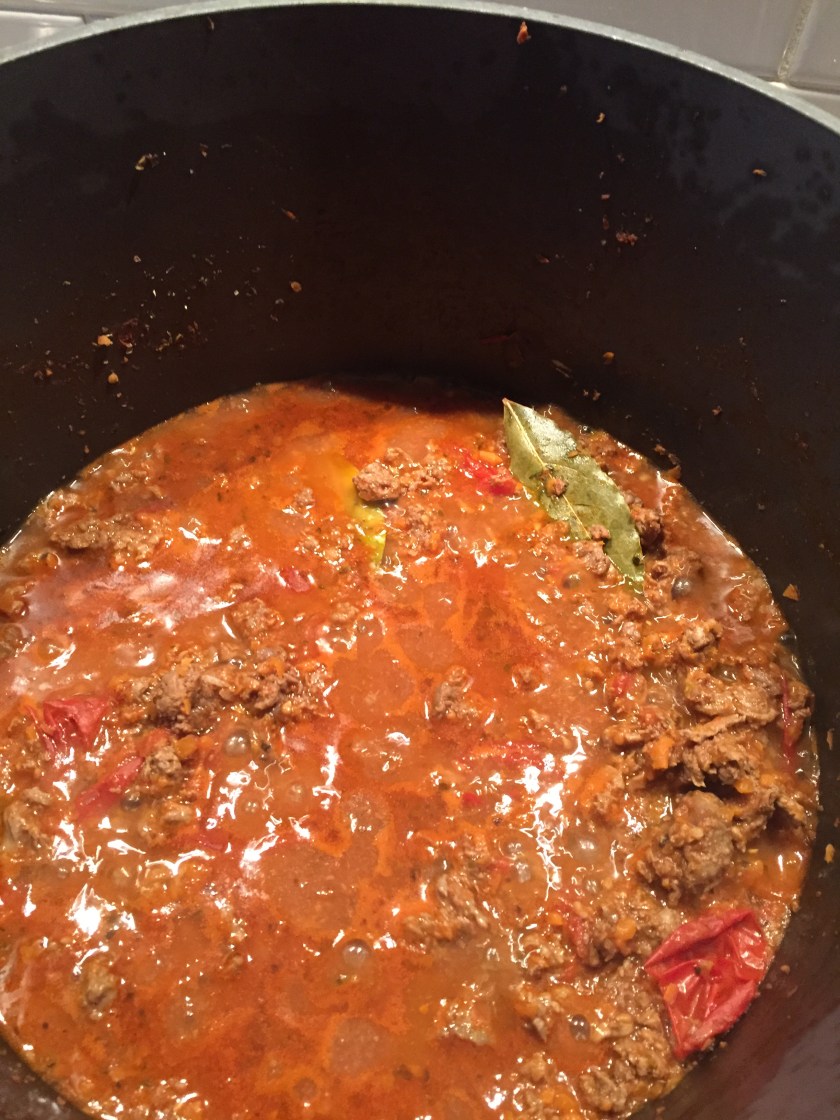
Add stock, water, tomatoes and red wine and bring to the boil.
Add the herbs and let it all simmer until most of the liquid evaporates. (approx. 40 mins on low)
Serve with your favourite pasta.
Letting it simmer slowly until liquid evaporates makes the flavours stronger!
To sum up for the challenge, it was delicious and the red wine in it gave it a lovely winter feel. It takes longer than a bolognaise to make so its not ideal for a work night but it could be done. While its simmering away im sure there’s many other things to get done! Bath the kids while its cooking then eat!
*I lost my cooking mojo over the last few weeks. With 1st birthdays to organise (which I love doing) and then Easter, things went a little off skew in the dinner department. Yes the kids had baked beans one night and heaven forbid we did eat McDonalds! Guess what? They survived! But I needed to get my mojo back and with the return to work drawing closer and closer I need to increase my go to meals. So I set myself a challenge this week. A new recipe every day. Test it, try it, time it, blog it! I have to say I feel a bit like the girl in the movie Julia and Julia ( I think its called that) but I’m not cooking my way through the Julia Childs cookbook, that’s way too big a challenge for right now!
Recipe 1 Skinnmixers Pork Belly with Apple Sauce Recipe Here!
Pork belly with Apple sauce
Having never cooked Pork Belly before I was a little apprehensive. It was super easy using the thermomix (yes it can be done without of course). I loved how easy it was, and it was superbly delicious! The boys discovered the joys of crispy crackling and devoured a plate full of veggies with the apple sauce. Winning! The only down fall was it took an hour and half all up to prepare and cook. Not one I’ll be putting on the weekly rotation but a fabulous one for a Sunday night roast!
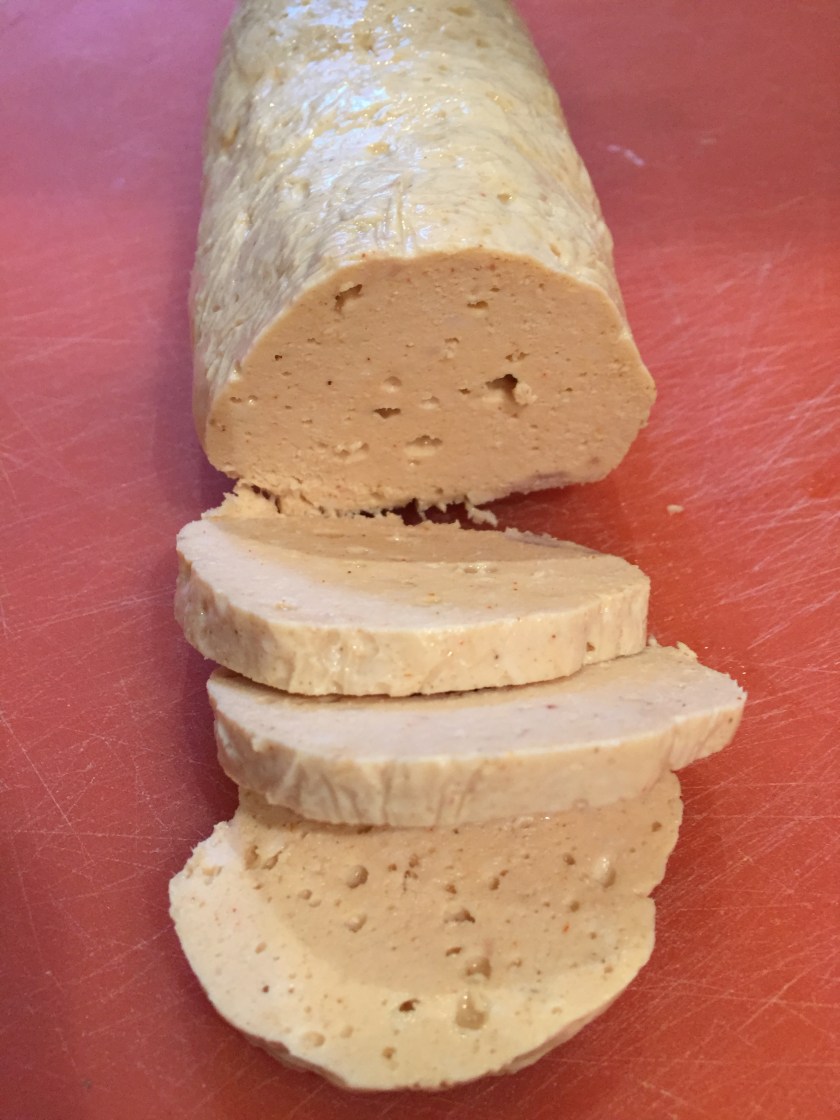
This is perfect for sandwiches for the next few days and obviously has way less crap in it that store bought stuff. Master 5 gave it the big thumbs up and will have it for lunch tomorrow! Super fast and easy to prepare, cooking took about 30 mins then 2 hours in the fridge. Was quite surprised by this one.
I’ve had tremendous luck in the taste department this week but this one is a definite pre- prepare meal. No way I can marinate and thread meat on a stick while I have three starving beings around. The marinate was super yum and made the chicken really juicy. And let’s face it kids love anything on a stick! For the stir fry I pre boiled the rice noodles, stir fried some ginger, lemongrass and garlic and added any veggies I could find in the depths of the fridge. Stir fried it all up added 2 tablespoons of fish sauce, a pinch of Brown sugar and about 100 ml of coconut milk. It was pretty delicious if I do say so myself! So to sum up, if I had the meat already marinated and on sticks it could be a great quick meal full of nutrition, so long as I’m organised…😜
I I haven’t decided what to try tomorrow but I’ve got my mojo back! Stay tuned!!
As a long time lover of sweet muffins I was a bit apprehensive to try a savoury muffin. However I was pleasantly suprised! The original receipe I had used olives and sun dried tomatoes however the fridge was quite bare! So instead I used bacon, egg and zucchini with a pinch of rosemary. With the help of Mr. 5 on his pupil free day we whipped them up in Thermie and had a delicious lunch. The advantage is they freeze well, and the kids love them.. I say that’s a win! Here’s the receipe…
Savoury Muffins
250g bacon diced
1 egg
1 zucchini grated
1 cup SR flour
1 cup grated cheese
pinch paprika
Sinply mix all together and spoon into muffin tray or muffin cases. Bake at 180 for about 30-40 mins until golden.
So easy and delicious! I’m now a savoury muffin convert!
One thing I’ve been dabbling in over the years is menu planning. I’ve always wanted to do it ‘better’ so I set myself a challenge to do a meal plan each week then do one big grocery shop for the week. Well I did it!! I went once to the supermarket and did not step foot on one until the following week!! I’ve done it now for 3 weeks and it’s fabulous!! The best thing is I seriously spent less money on food and there was no wastage. All over the Internet you’ll find weekly menus and plans.. Anyone can make one! I needed to make sure that the meals chosen were gong to be eaten by all members of the family. Sorry Mums but I’m not one for making separate meals for the kids.. So I asked them!
I literally asked each member including dear husband to choose one meal. I was immensely surprised by the results. Not only have the meals been healthy but everyone has enjoyed eating ‘their choice’. Each night the kids seriously discuss who’s choice the meal was and who’s meal it is tomorrow night. At first I was unsure what they might come up but some of their choices have included lasagna, burritos, chicken kebabs and cous cous and chicken curry. The kids love having some power over what we eat and it makes for a great discussion with them! Give it a try, see what meal plan your tribe comes up with!
I’m hoping to develop a spread sheet for weekly plans in the near future. 😳
Well I’m officially a school mum now, lunches everyday, uniforms organised.. I have a new appreciation for school holidays and it’s only week 1! Mornings are chaotic with the three being so young but we’re getting better at it! They are learning their jobs and roles for the morning so it’s getting there.. Slowly!!
I made Pinwheels for an afternoon snack on Friday. They are super easy and delicious, could be made healthier if you’re so inclined! I was quite surprised to learn a friend had never had them!
Pinwheels
On a sheet of Puff Pastry spread a layering your favourite sauce.
Sprinkle evenly with cheese and ham.
Roll the pastry into a tight scroll and cut into 2-3 cm pieces.
Bake for 10 mins or until golden and ‘puffy!’ (Yes very technical I know!)
Anything can be used as fillings in pinwheels. Ham and cheese, cheese and vegemite, basil and cheese, tomato and basil, the opportunities are endless!!! Get creative! They freeze well too so they are great for the lunch boxes or after school snacks!
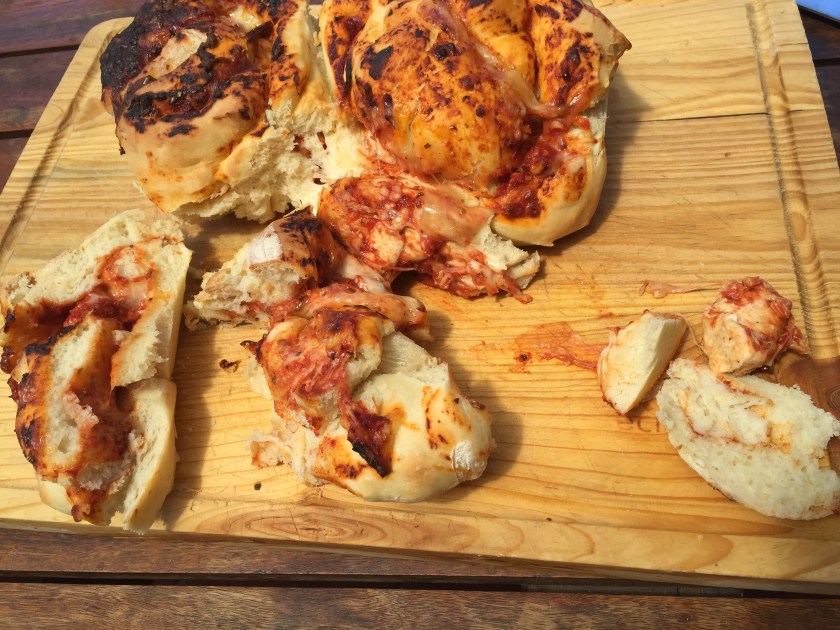
Sunday Pullapart
For a quick and easy Sunday lunch I made a pizza Pullapart. Made a quick dough, let it rise, then roll it out to a flat rectangle. I spread it with pizza sauce, ham cheese and pineapple. Twisted it all up and baked for around 20mins. Super yum!!! Again any filling can be used. Pizza, ham and cheese, cheese and vegemite, basil and feta (oh this is delicious!) feta and olive.. Mmmmm.. X
Happy Australia Day! We do live in fabulously free Country where we can be ourselves and do what we want and live the life we dream. Today lots of people are celebrating in various ways, friends are having beach days, bbqs and fireworks. And of course the cricket. The boys are a little obsessed with all things sport at the moment so we are endeavouring to take them to the international 20/20 tonight. We’ll see how that goes!
I wanted to do some ‘Australian’ cooking today.. I looked up lamination recipes and pavlova (which I must say I love a good pav) but decided on my Mums Vanilla Slice. Biscuits, custard and icing- how can you go wrong?!!
Vanilla Slice (Thermomix style)
2 packs of Arnotts Lattice Biscuits
50g of cornflour
1/4 cup sugar
2 eggs
1tsp vanilla extract
500g milk
1 quantity of icing- I choose pink!
coconut for sprinkling on top.
METHOD
-to make the custard I use the Thermomix but of course I can be done on the stove top.
place corn flour and sugar in bowl and mill sp9 for 10 secs.
Add eggs, milk, vanilla and set at Sp 3 90 degrees for 7 mins. ( using the stove top- continually stir until thickened) it needs to be quite thick.
line a slice tray with baking paper, and place a layer of Lattice biscuits on the bottom.
Spread the custard out on top of the Lattice Biscuits.
place another layer on top of biscuits on top of the custard, and place in the fridge for at Least an hour.
Spread a layer of icing on top of the biscuits and sprinkle with coconut.
My hot tip is to cut the biscuits in half when serving (use a serrated bread knife) so the custard doesn’t ooze to much when you bite into the creamy deliciousness!!
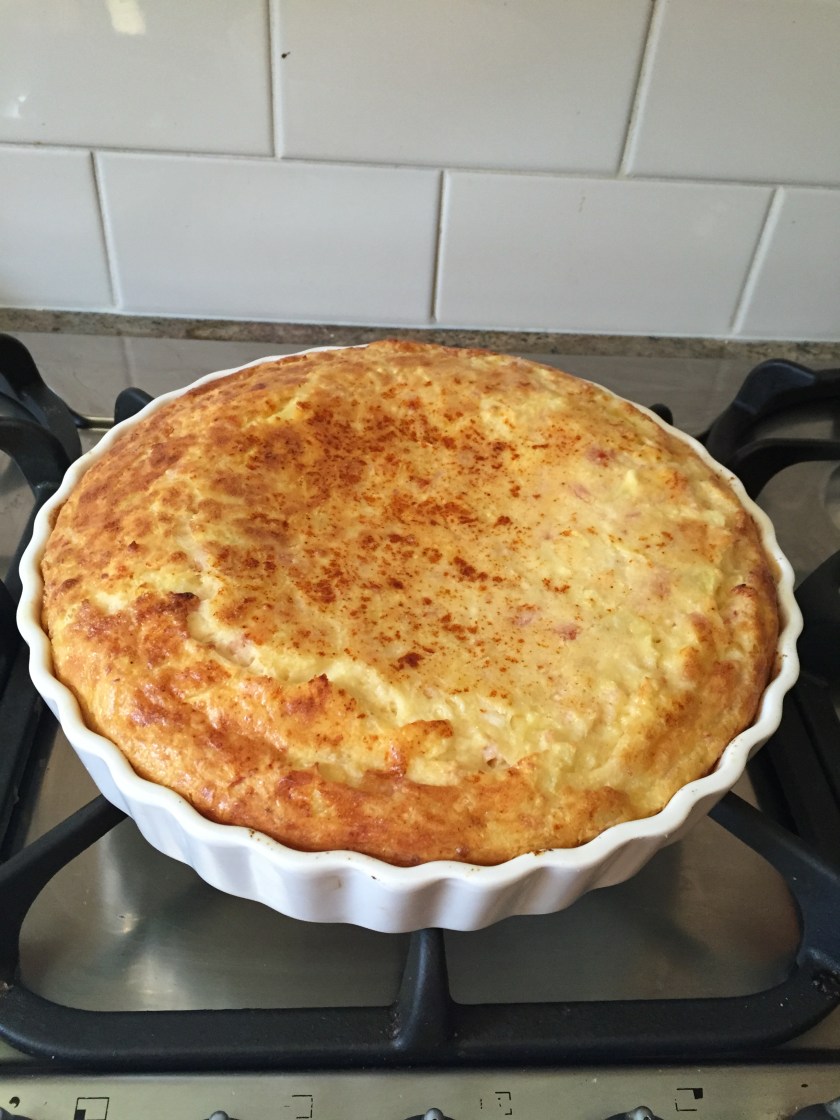
It’s been a long time family favourite the ‘egg and bacon pie’ my mum calls it! It’s simple, delicious and great as leftovers the next day or two! I recall many evenings mum would have them already baked ready to to reheat and eat after a day at school. Then I moved out and started making my own! I even made this ‘pie’ for a friend on her wedding at so we could eat something nutritious before the festivities… And champagne! I make it oftentimes to cut up and have a piece for breakfast.
My Mums Egg And Bacon Pie
( I use the Thermomix to chop and mix mine but of course it can be done the traditional way!)
1 Brown Onion
100g of cheese
3-4 eggs
500ml of milk
500 g of rindless bacon
1/2 cup of pastry mix (can be substituted with SR flour if your stuck)
Method
Chop onion and bacon into small pieces (sp 5 for about 10sec)
Add grated cheese, eggs and pastry mix and mix well. (Reverse, sp 3, 10 sec)
Add the milk and mix until combined and hopefully no lumps of pastry mix! (Reverse sp 4, 10 sec).
Pour into a quiche dish and bake at 160 for around 45 or until golden brown!
Serve with your favourite green salad, or in my house huge dollops of my Nanna’s home made sauce. Yummo!!
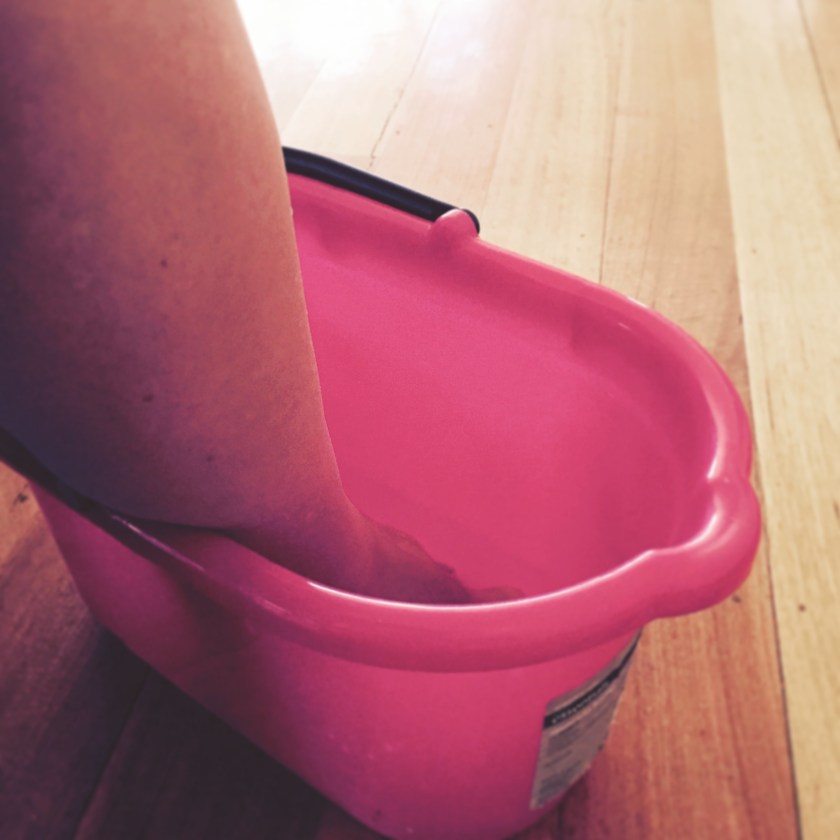
Yesterday I posted that I was trying the home made foot soak, and a few readers (excited that I can write that!) commented they wanted to know how it went.
The Original Recipe
1/4 Cup Vinegar
1/4 Cup Mouthwash
1 cup warm water
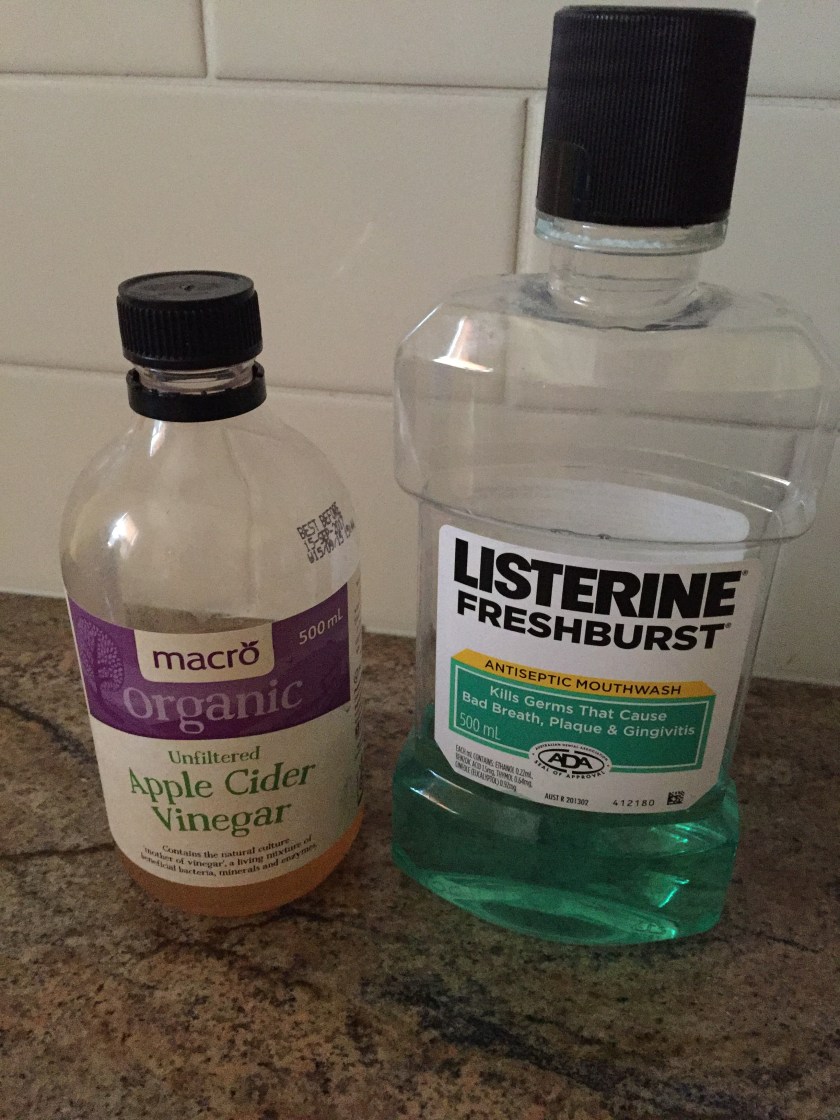
Well I had to change the recipe a little as I didn’t have any regular vinegar. So here’s my adaptation..
My Version
1/2-1 cup Apple Cider Vinegar
1/2-1 cup Listerine (I used green one)
and enough warm/hot water to cover my feet.
At first when I added the Apple Cider Vinegar it smelt so strong I thought I’d smell of rotten apples for days, but after adding the Listerine ( I probably used closer to 1 cup) the mint took over.
Realistically any time I get to sit and stick my feet in a warm bath would be relaxing but this was great. I had my pink bucket, my comfy chair and my Ipad. I settled down for my 10 minutes… nearly an hour later I thought I’d better get my feet out or they may shrivel to nothing! I was quite surprised at how good my feet felt. It was a cheap, easy solution to a foot soak using only ingredients I already had. I gave my PedEgg a good workout afterwards while everything was soft and squishy (eww right?!). I seriously lay in bed afterwards and I really did notice my feet feeling tingly and refreshed. Probably due to the overdose of Listerine but it really did feel good! The advantage of Apple Cider Vinegar is its so fermented that it would kill any germs you had on your precious tootsies.
So give it a go! Refreshed and minty, albeit a bit appley, and ready for another day on your feet!
 Perfect sunny day here. All ready for a long weekend. Catching up on some baking today. A quick easy go to for my faintly has always been the traditional Rock cake! Low in sugar and super delicious and the biggest criteria.. Fast! Find the Recipe here. My mum has been baking these for years and I kinda stole it from her! We are to the beach for some sand play and sunshine!
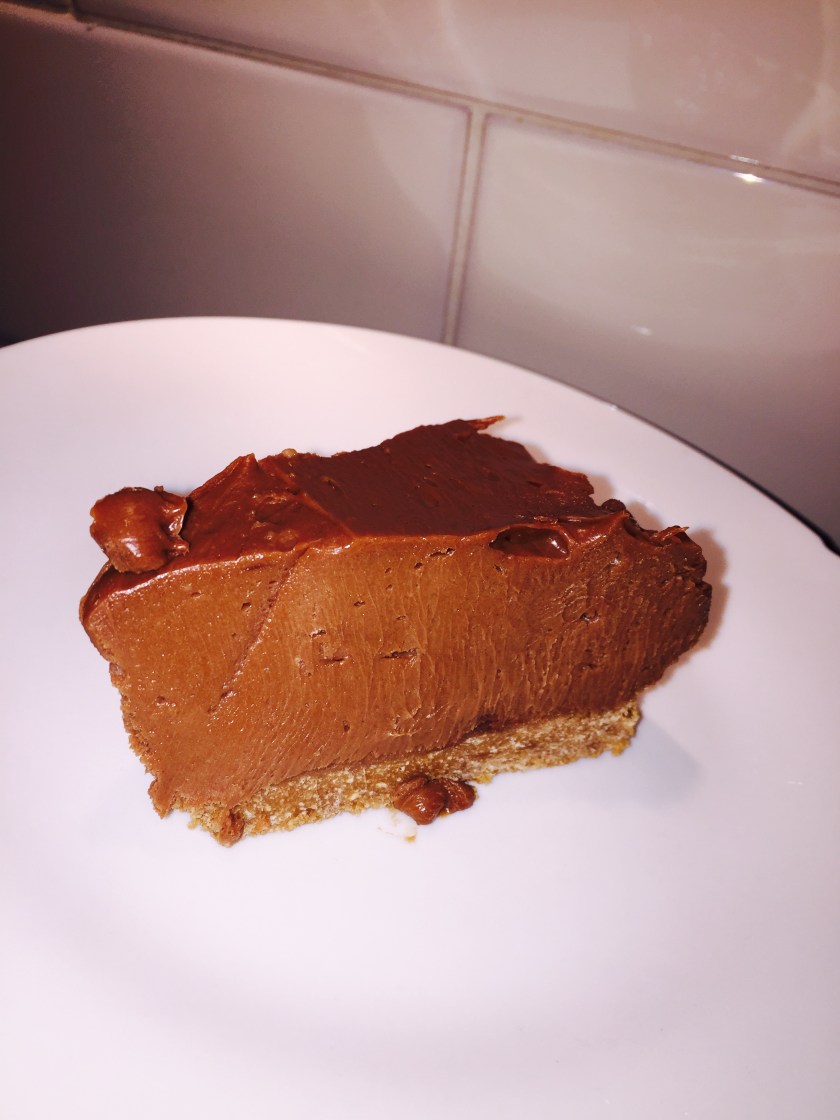


 Yesterday I posted that I was trying the home made foot soak, and a few readers (excited that I can write that!) commented they wanted to know how it went.
You must be logged in to post a comment.